In this video, Dave is showing us how to install the HVAC Return Air Duct Vent. The purpose of the Return Air Duct Vent is to take the air in to the furnance to heat or cool it then blow it back out to the rest of the house. So, with sufficient venting, the air flow improves and the HVAC unit would run more efficiently.
In our home, we have one vent opened. After talking to the HVAC professionals, they suggested to put one more in to maximize efficiency. Another great DIY Project for Dave! Here are some high level steps:
1. Measure the location for the vent. Make sure to use a level ruler to ensure a straight line.
In this video, Dave is showing us how to install the Hi-Lift Jack Mount for the Jeep JK Wrangler. The Dominion Jack Mount is a perfect solution for what Dave is looking for. Something secure and good quality to mount the Hi-Lift Jack. The design is great that this can be installed inside the hard top, can be kept clean and out of sight.
The website you can find the mount is here. You can also buy this on Amazon here.
Video doorbell is very popular these days. Dave recently installed the Ring Video doorbell pro. There are various model you could choose based on your need. Please visit Ring.com for more information. See Video Doorbells on Amazon! Installation was pretty easy. This project took Dave about an hour. Dave chose the hardwired version to work with our existing home doorbell.
1. Remove old Doorbell.
2. Make
sure power is off from circuit breaker.
Disconnect the wires from old doorbell.
3. Take
the cover off from the Ring Doorbell.
4. Drill
holes using the drill bit come with the kit and put
wall mounting anchor to the drilled hole
5. Connect
wires to the Ring Doorbell.
6. Mount
doorbell to wall.
7. Snap
face plate onto the Ring Doorbell.
8. Put
secure screw on the bottom of the Ring Doorbell.
9. Install
the power kit inside the door bell in
the house.
10. Take the cover off. Make sure power from circuit break is still off. Remove wire from the one labeled "Front". Insert the wire just removed to the wire clip labeled "Front" and connect the other end to the house doorbell.
11. Repeat the same for the other one labeled "Trans"
12. Find a good location to put the Ring power pack. Try to stay away from the metal plates of the doorbell itself and put cover back on.
13. Set up the app and connect the Ring doorbell. Press the button on the side of the doorbell. Follow instruction on the app to connect to the home wifi network.
14. Try it!
Let's take a look at the video to see how Dave did it!
Our dishwasher started to make some noises. For a long overdue task, we've decided to take the racks and components apart and perform a deep clean. The model of our dishwasher is the GE Adora Quiet Power III. This particular model has been discontinued.
The project took about 2 hours. Basically, take the components out and clean them, then put them back in! Clean all the soap scum and dirt really well and check to see if there is any debris left in the drain basket and other parts of the dishwasher. For cleaning, we used mild soap and white vinegar. Economical and Effective!!
1. Take the racks out.
2. Take the bottom washer arms out.
3. Take all these bottom
components out.
4. Take out the top upper wand.
5. Remove the strainer basket.
6. Use white vinegar to soak the
bottom of the dishwasher to help get the soap scum out. We did this for about 30 mins. We also use white vinegar to soak other components and clean them.
7. Put all the components back
together to the dishwasher. Sprinkle Baking Soda powder
to the dishwasher and run it on Hot / Antibacterial cycle.
Unfortunately, the noise is still there, but the dishwasher is much cleaner! With the drone type of sound, it is likely the circulation pump motor bearings are starting to go bad. (We were hoping that's not the case!). Well, maybe we will try to tackle that one or maybe we will just call our favorite appliance guys - Action Appliance Repair! :D But if we do try to fix it ourselves, we will surely make another video! :D
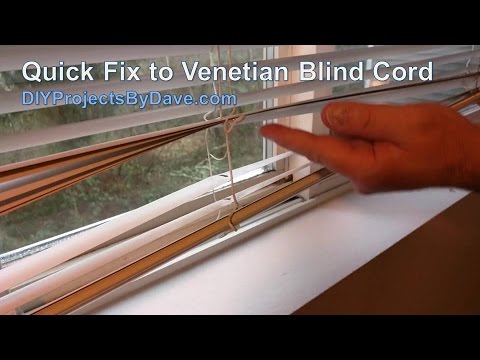
A lot of times, the cord of Venetian Blinds could come loose. It's a an easy fix. You could find a replacement part, in the meanwhile, if you have have spare washers at home, you can fix it very quickly! Venetian Blinds choices on Amazon! Dave shows us how in this video! Take a look!
When moving to a new home, one of the first things to do is to change the lock. Hiring a locksmith is one option, or you could try to do it yourself. Dave shows us how to install the Kwikset Deadbolt and Door Lock in this video.
See locks available on Amazon! Step 1. First, we've purchased the Kwikset
Deadbolt lock and door lock, with Smartkey technology
Step 2. Remove the old dead bolt.
Step 3. Install
the new lock.
Step 4. Replace
the striker plate for the dead bolt.
Step 5. Remove
the old door handle.
Step 6. Make
sure the lock is to be installed in the right direction.
Step 7. If needed, you might need to use the Hole / Lock saw.